How to Create and Run Online Quizzes on BanglaTech
Set up auto-graded MCQ quizzes, fill-in-the-blank questions, and timed assessments with instant leaderboards.
Overview
This tutorial walks you through creating an auto-graded online quiz with three different question types — single-answer MCQ, multi-answer MCQ, and fill-in-the-blank — plus a per-question timer, negative marking, and an instant leaderboard. The whole flow from admin setup to student attempt to results takes under 10 minutes.
You'll need a group to host the quiz in. If you haven't created one yet, see the Paper-Based Exams tutorial which covers group creation in detail. This tutorial assumes you already have a group.
Part 1 — Admin: Create the Quiz
From your group, go to the Quizzes tab. If it's empty, you'll see a prompt to create your first quiz.
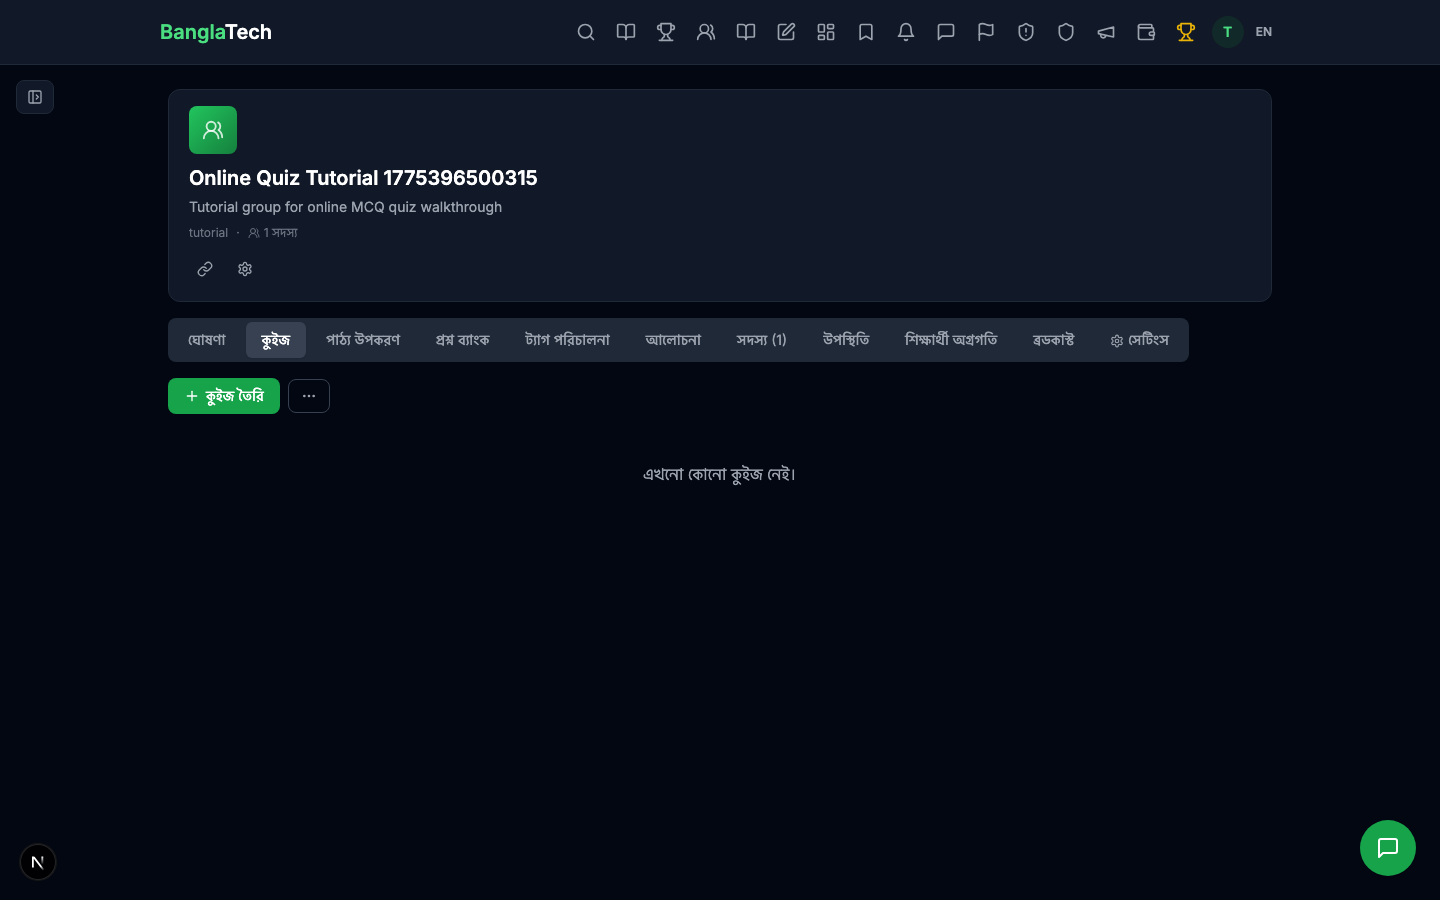
Click Create Quiz. Give it a title and description.
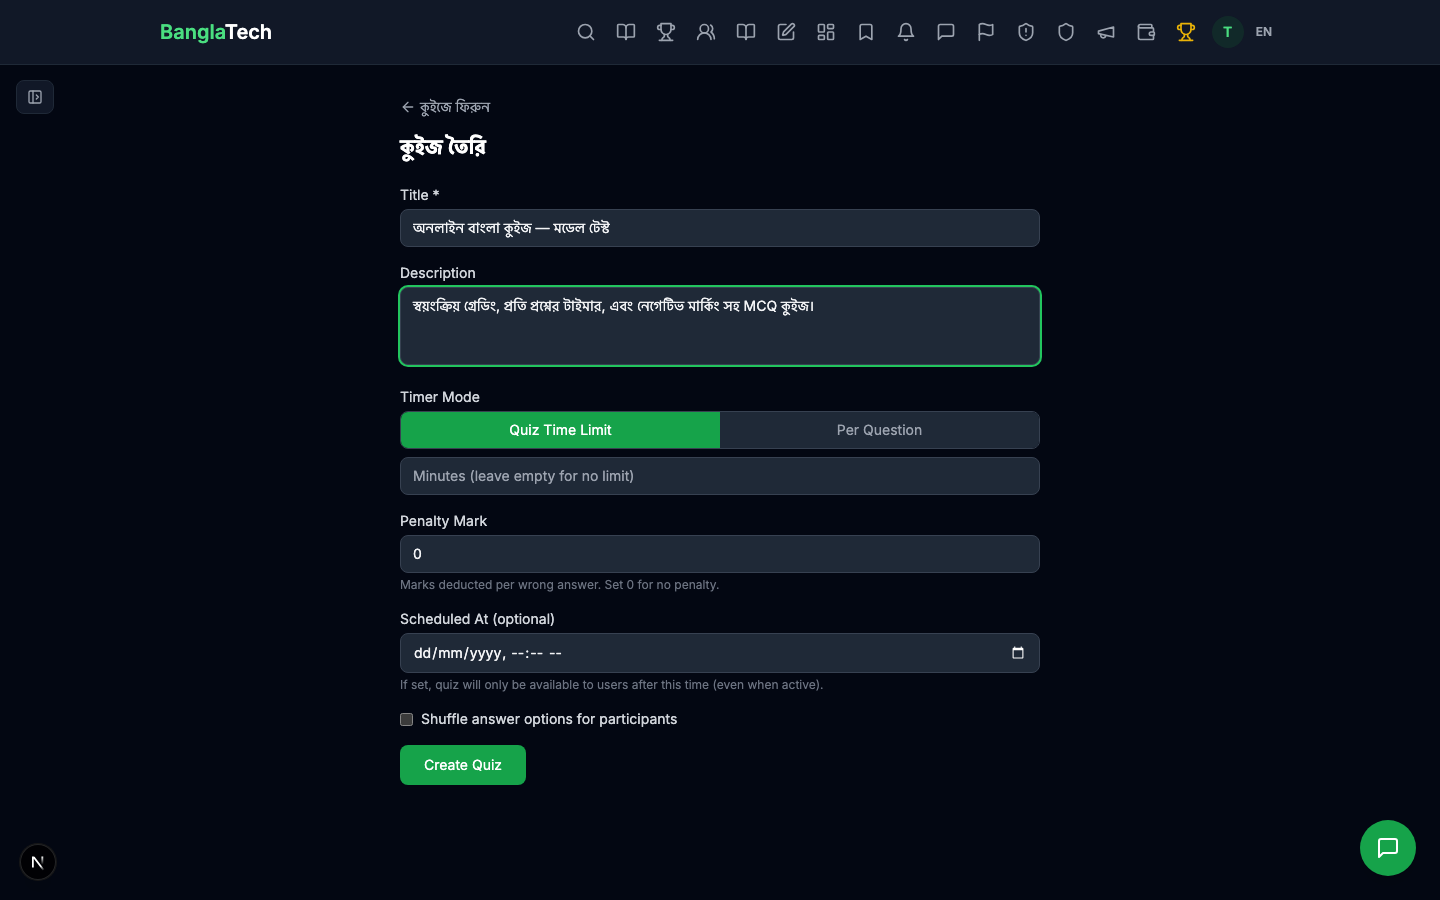
After creating, you land on the quiz edit page where you'll add questions.
Part 2 — Add Three Question Types
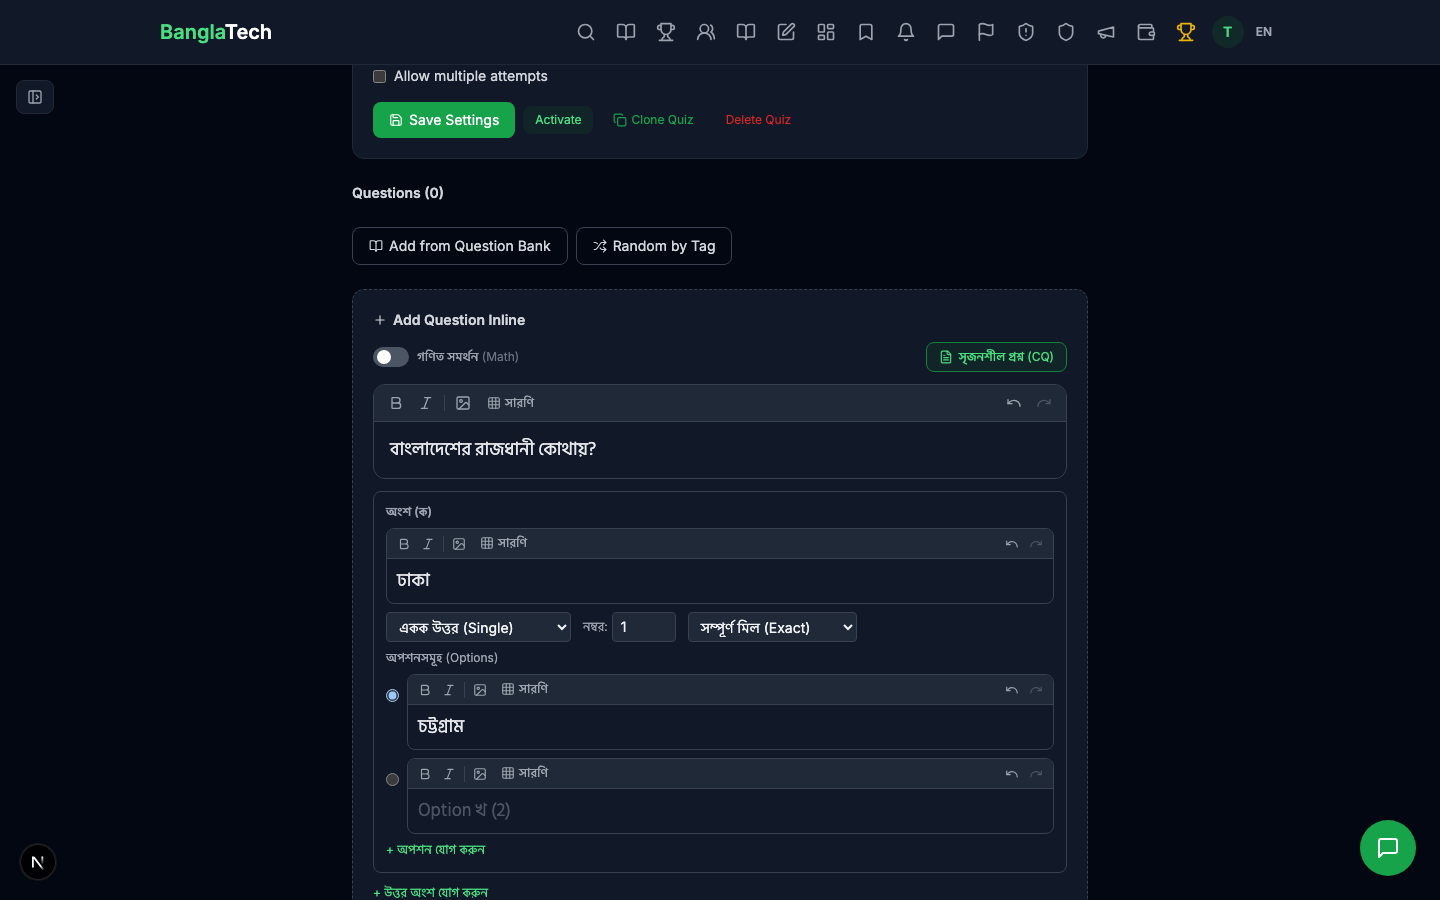
The Add Question Inline section supports four response types: MCQ single-answer, MCQ multi-answer, fill-in-the-blank, and image upload. We'll use the first three here.
Type 1 — MCQ Single Answer
Default response type. Write the question, fill in 2–4 options, and mark the correct one with the radio button. Example: "বাংলাদেশের রাজধানী কোথায়?" with options ঢাকা, চট্টগ্রাম, রাজশাহী, সিলেট.
Type 2 — MCQ Multi Answer
Change the response type dropdown to MCQ Multi. Now the radio buttons become checkboxes — mark all correct answers. Example: "নিচের কোনগুলো বাংলা সাহিত্যের কবি?" with রবীন্দ্রনাথ ঠাকুর and কাজী নজরুল ইসলাম both marked correct.

Type 3 — Fill in the Blank
Change the type to Fill in the Blank. Write the sentence with ___ where the blank goes, then provide one or more accepted answers. Example: "বাংলাদেশ স্বাধীন হয় ___ সালে।" with accepted answers ১৯৭১ and 1971.
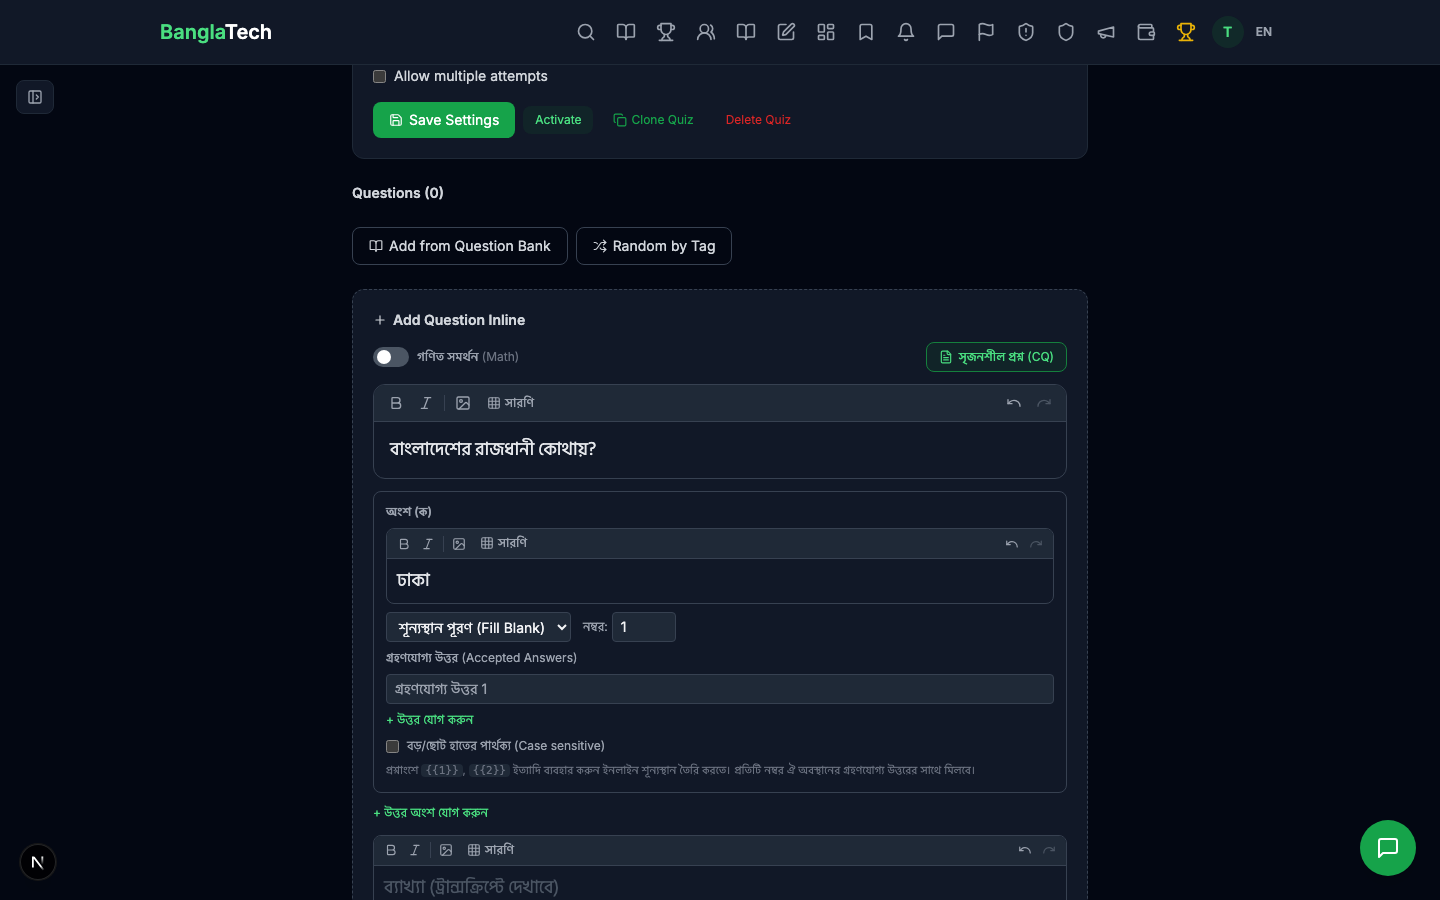
For fill-in-the-blank, you can add multiple accepted answers (case-insensitive by default). This lets students answer in Bangla digits (১৯৭১), English digits (1971), or any other acceptable variation.
After adding all three questions, the quiz edit page shows them listed:

Part 3 — Configure Quiz Settings
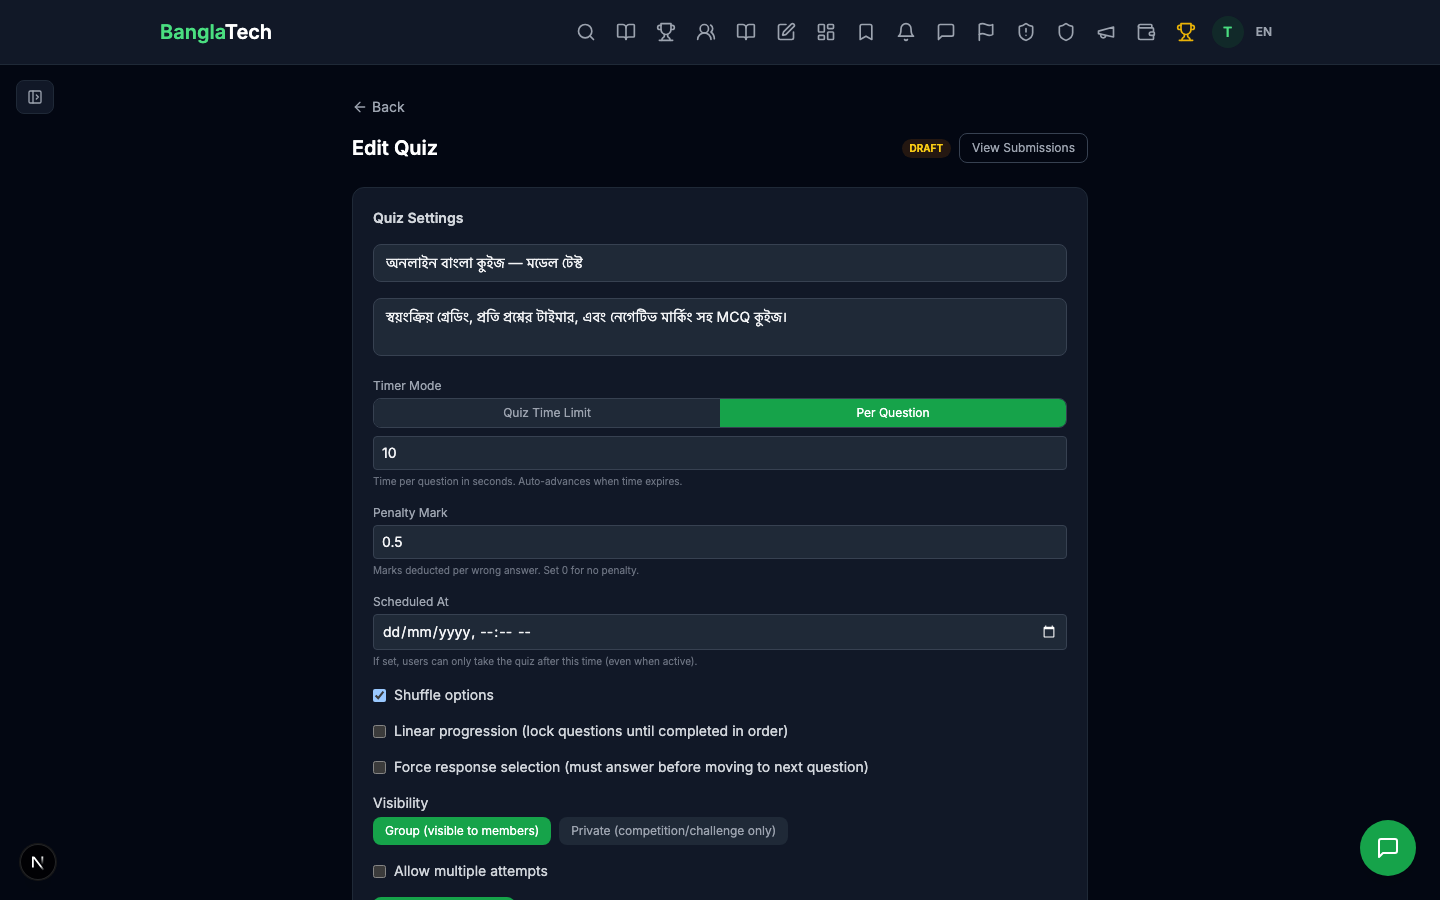
Scroll to the top of the edit page to access settings: per-question time limit, option shuffling, negative marking, and more.

Key settings for this tutorial:
- Per-question time limit: 10 seconds (short, so we can demonstrate what happens when a student runs out of time)
- Shuffle options: enabled — each student sees the answer choices in a different random order
- Negative marking: 0.5 — wrong answers deduct half a point
- Single attempt only: students can't retake the quiz
Part 4 — Activate the Quiz
Switch the quiz status to Active. Now students in the group can see and attempt it.

Part 5 — Student: Take the Quiz
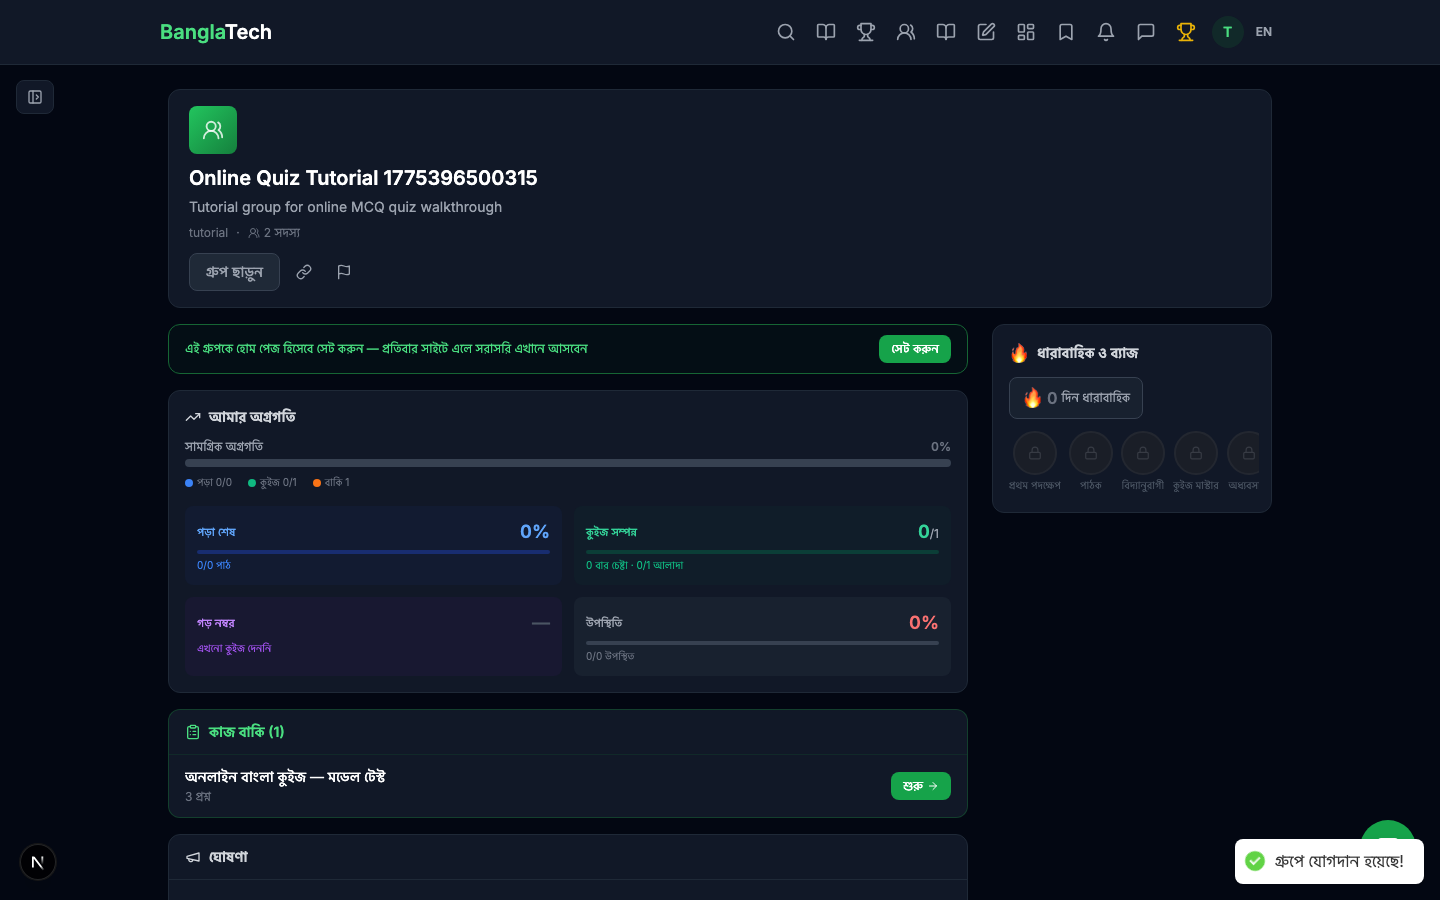
A student opens the group and sees the quiz in the Quizzes tab.
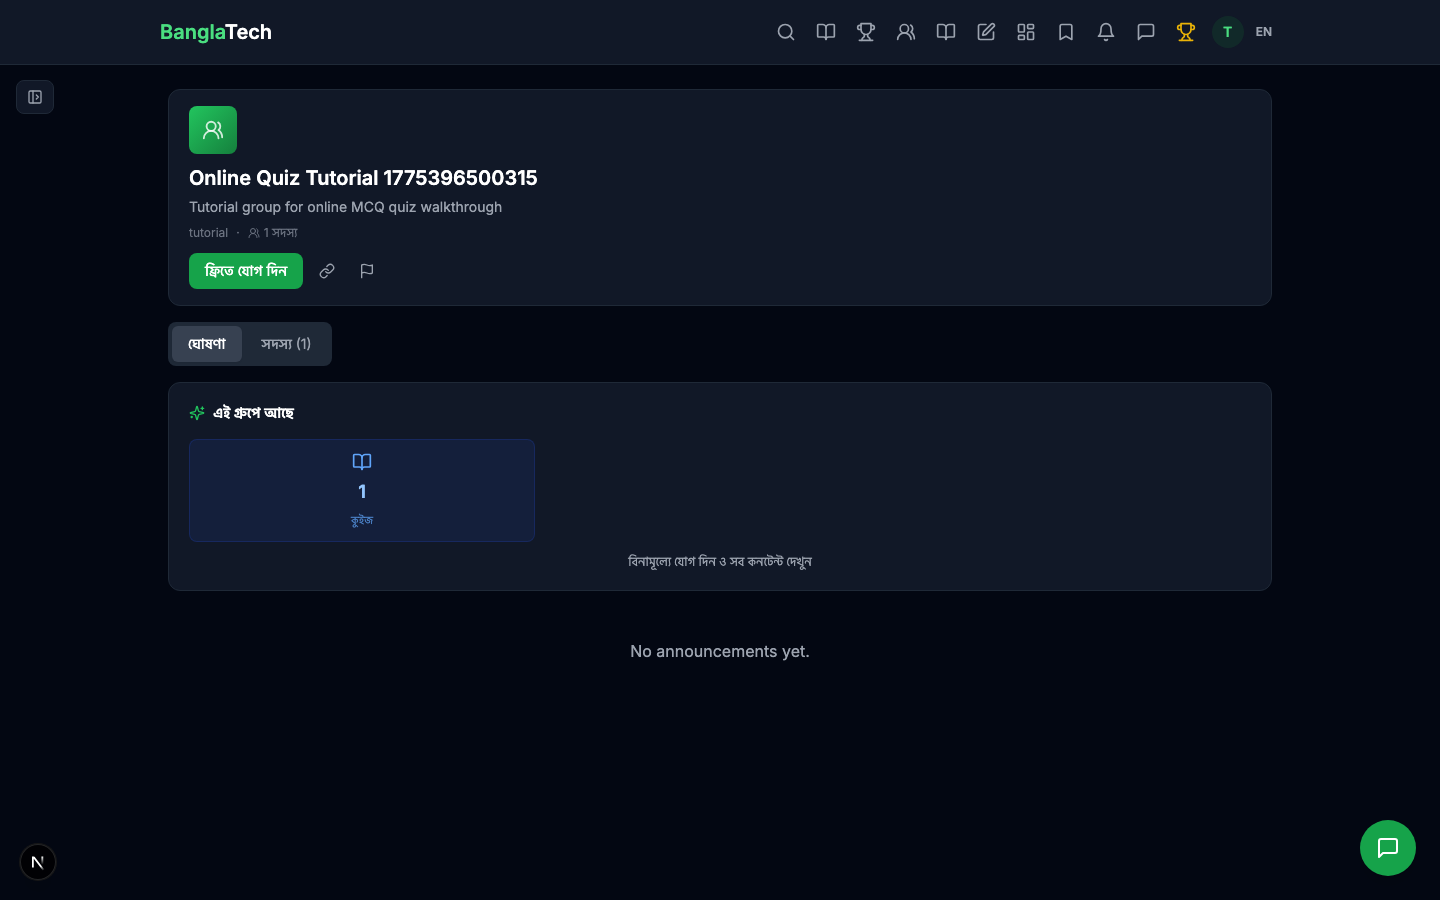
If they're not yet a member, they click Join first.
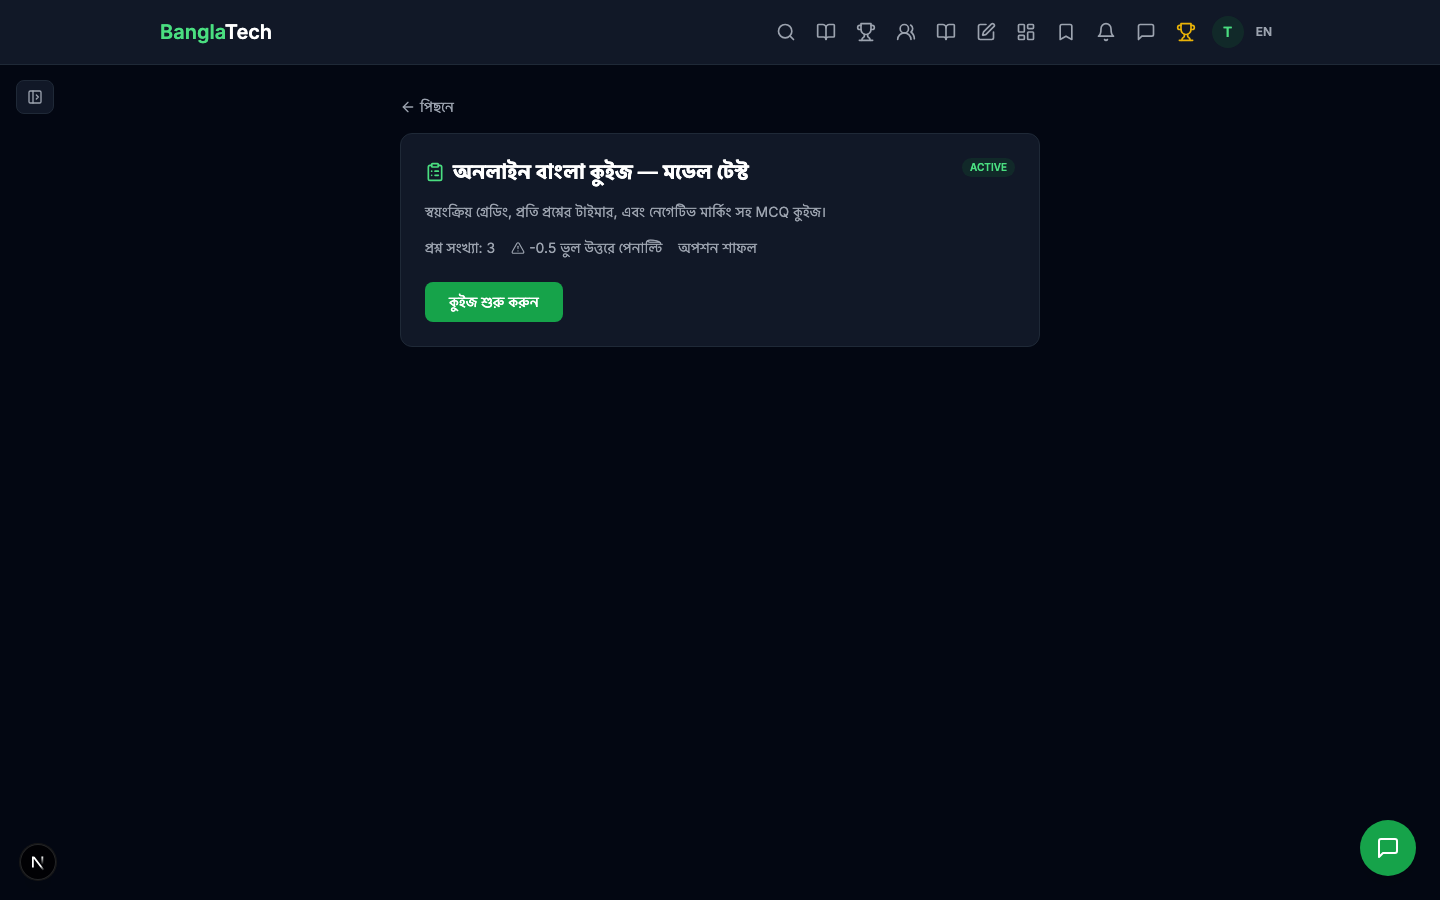
Opening the quiz shows the intro page with the quiz title, description, and a Start button.
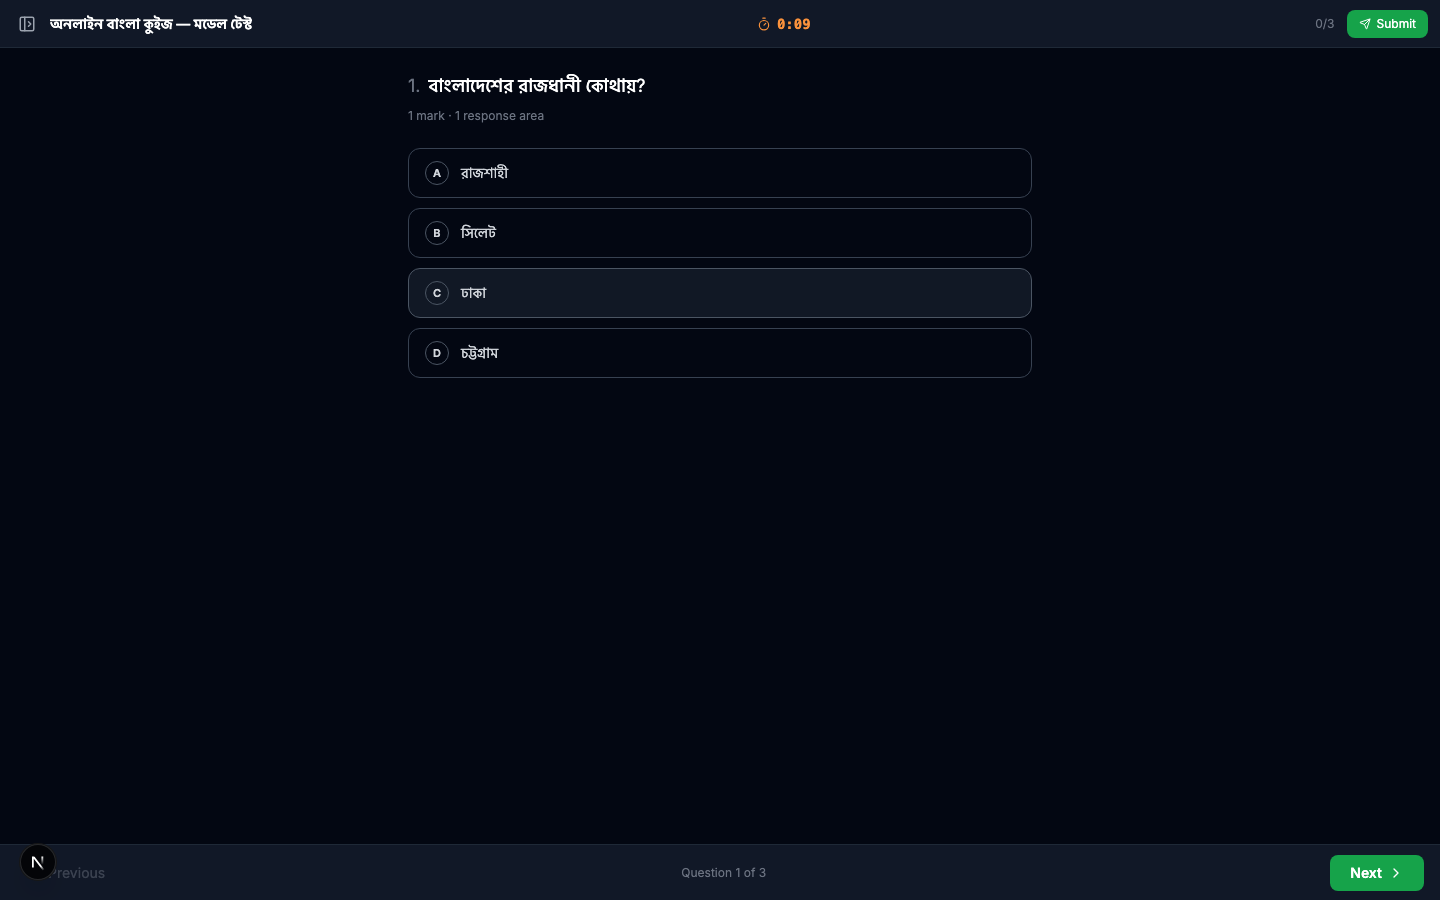
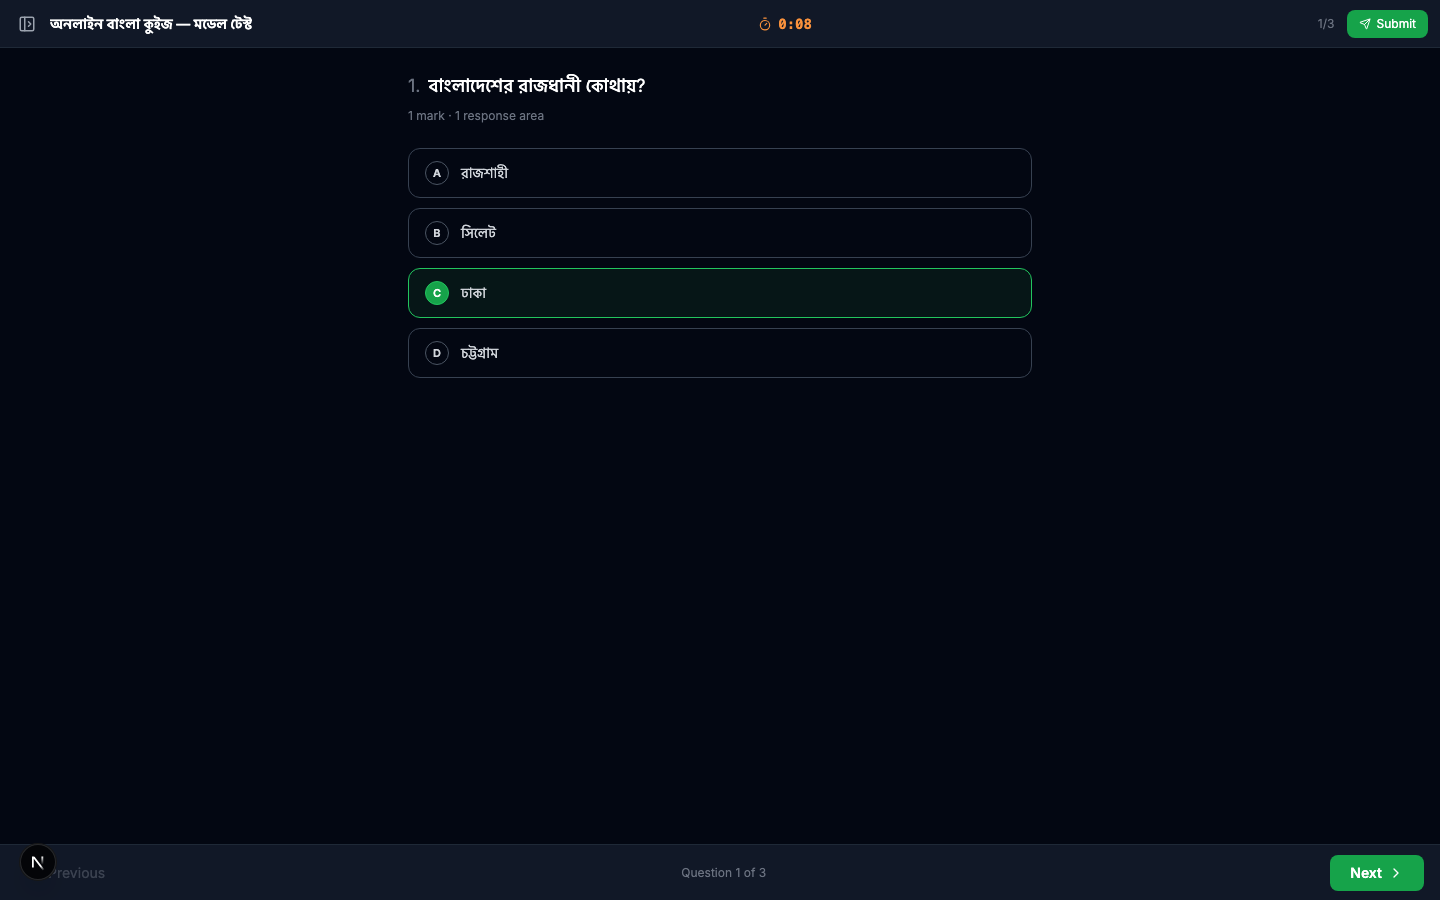
Question 1 — MCQ Single Answer
The first question appears with a live countdown timer at the top. The student picks ঢাকা and the option highlights.
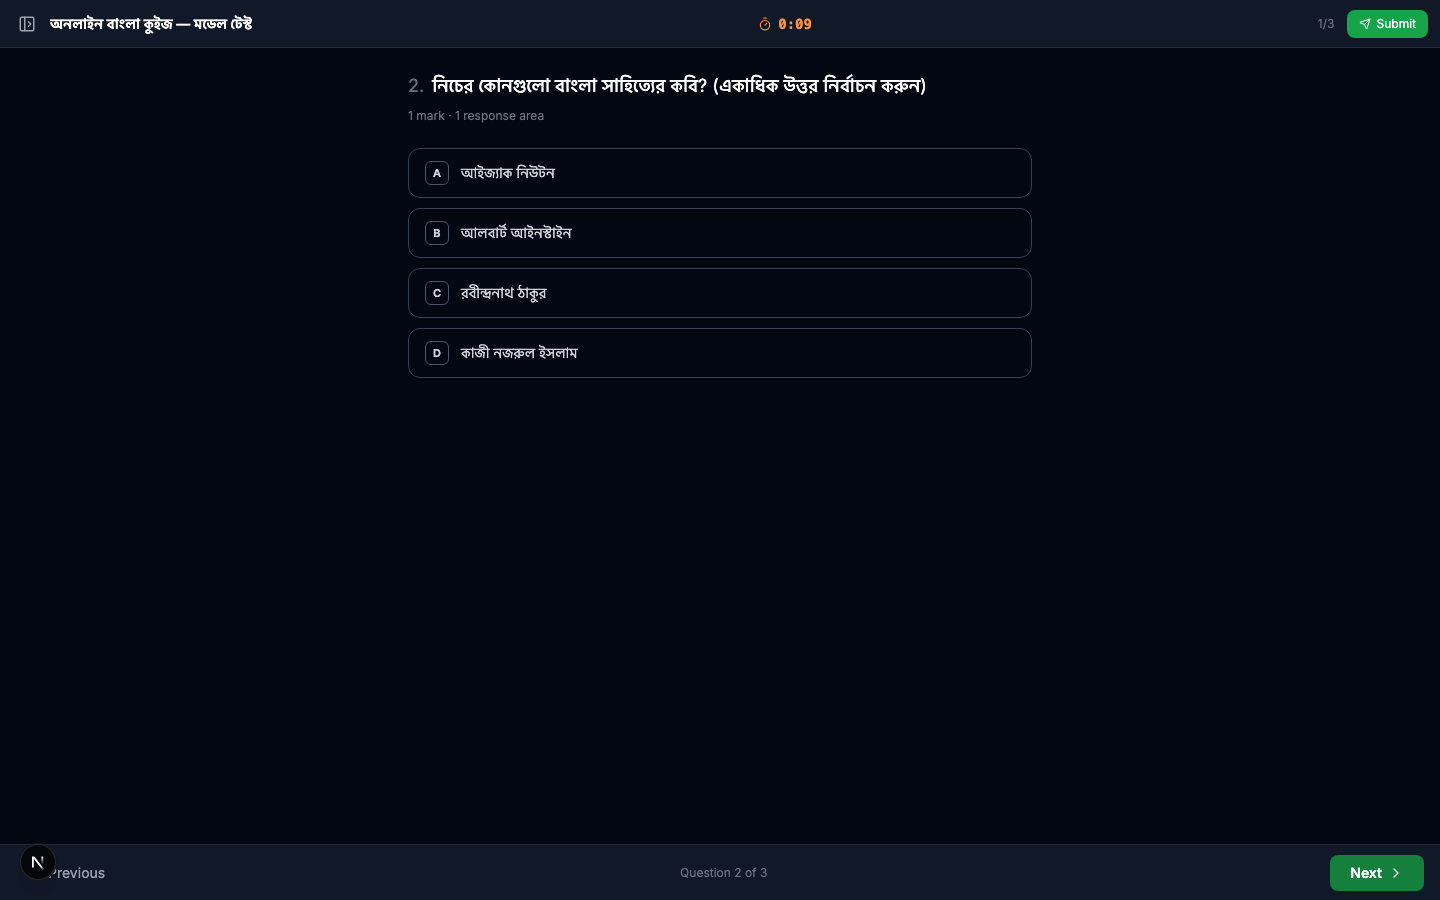
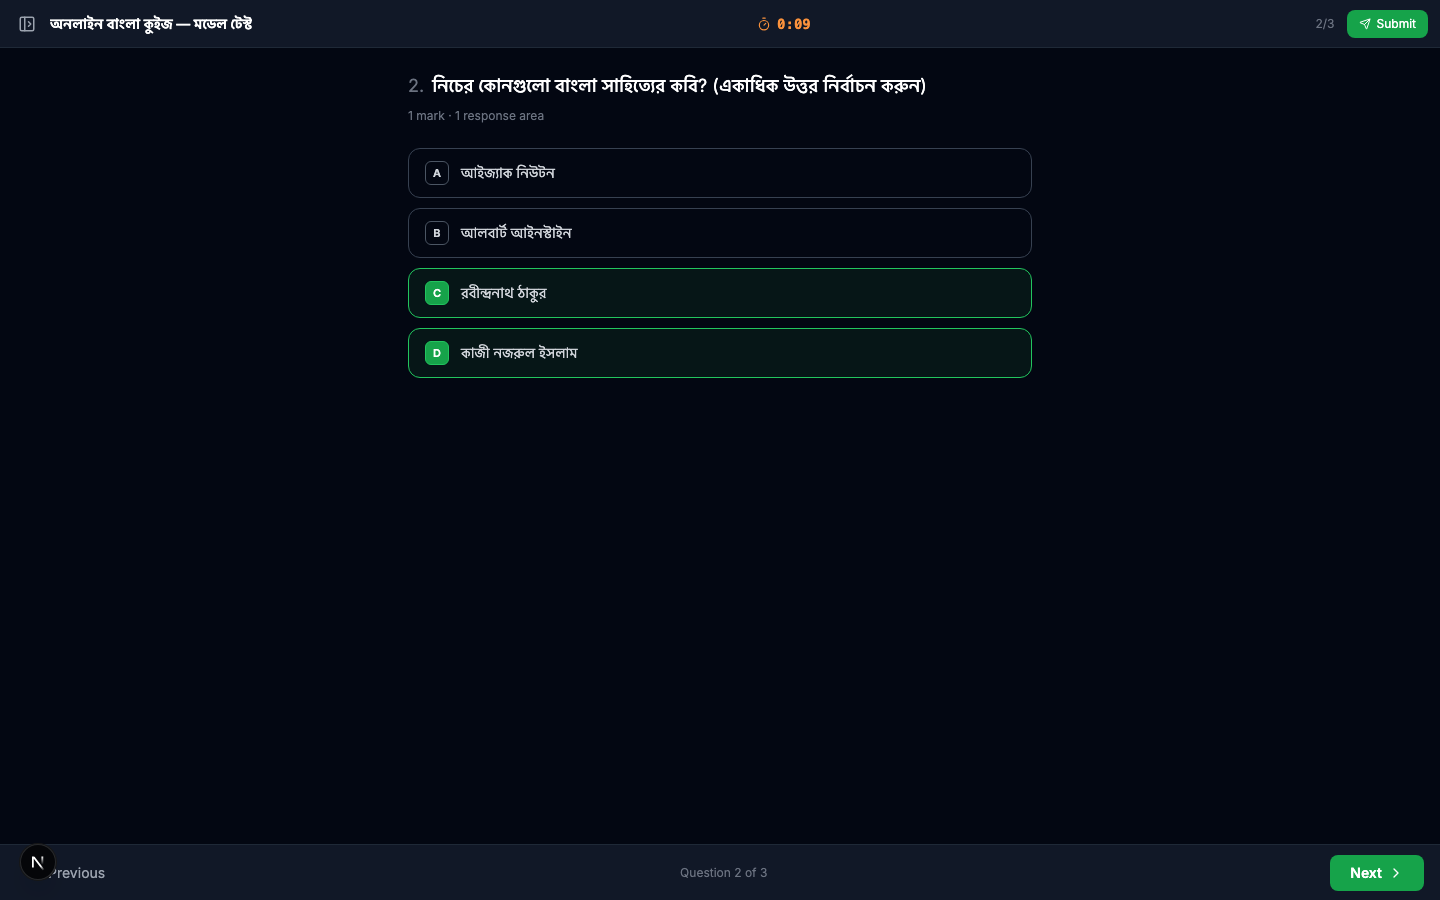
Question 2 — MCQ Multi Answer
Checkboxes instead of radios. The student selects both রবীন্দ্রনাথ ঠাকুর and কাজী নজরুল ইসলাম.
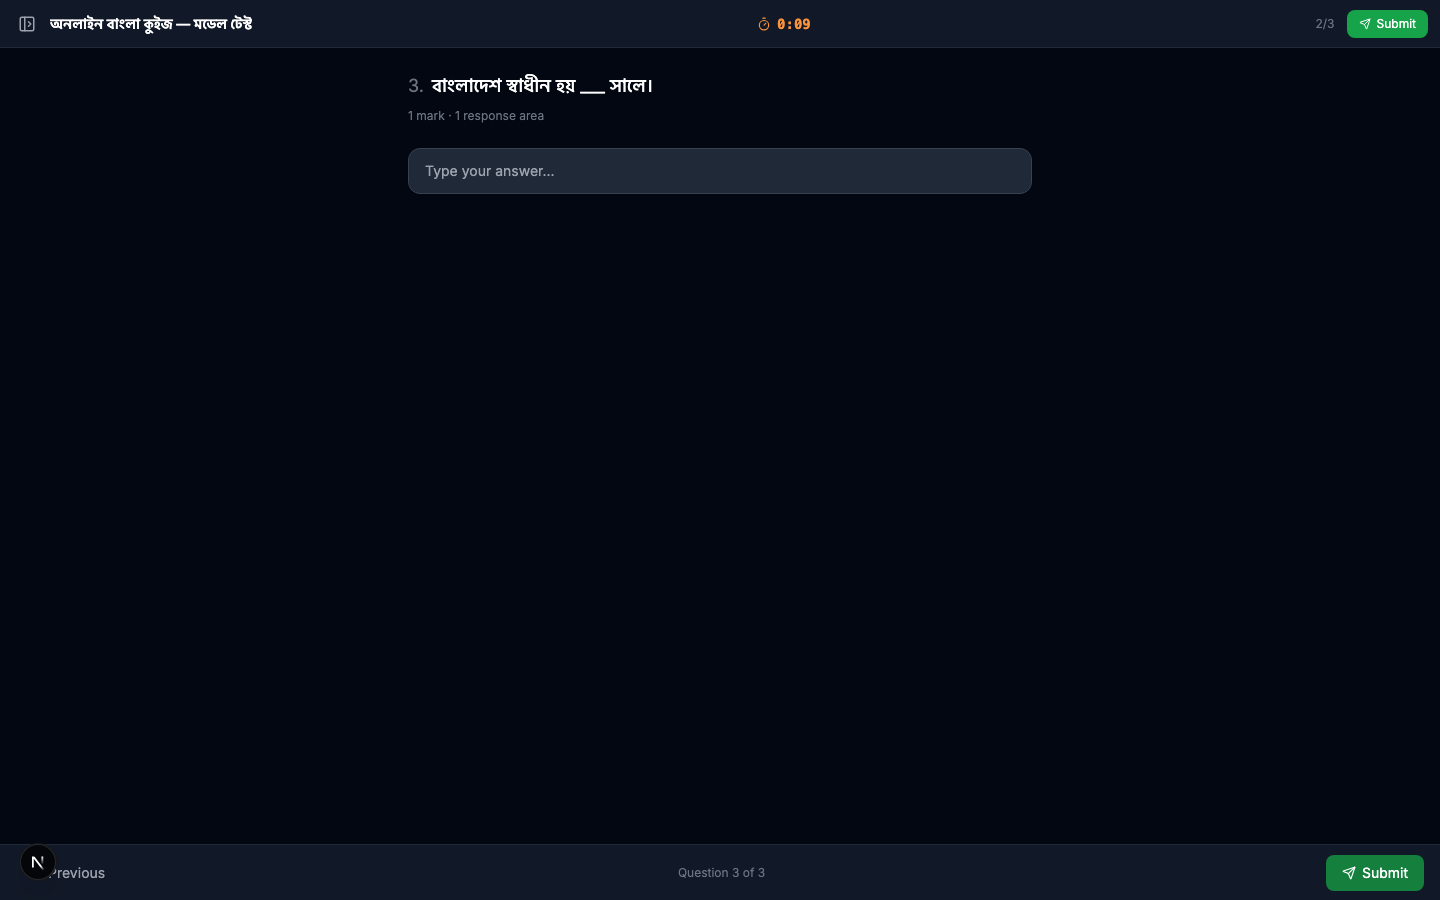
Question 3 — Time Runs Out
On Q3 (fill-in-the-blank), the student hesitates and the per-question timer runs out before they answer.
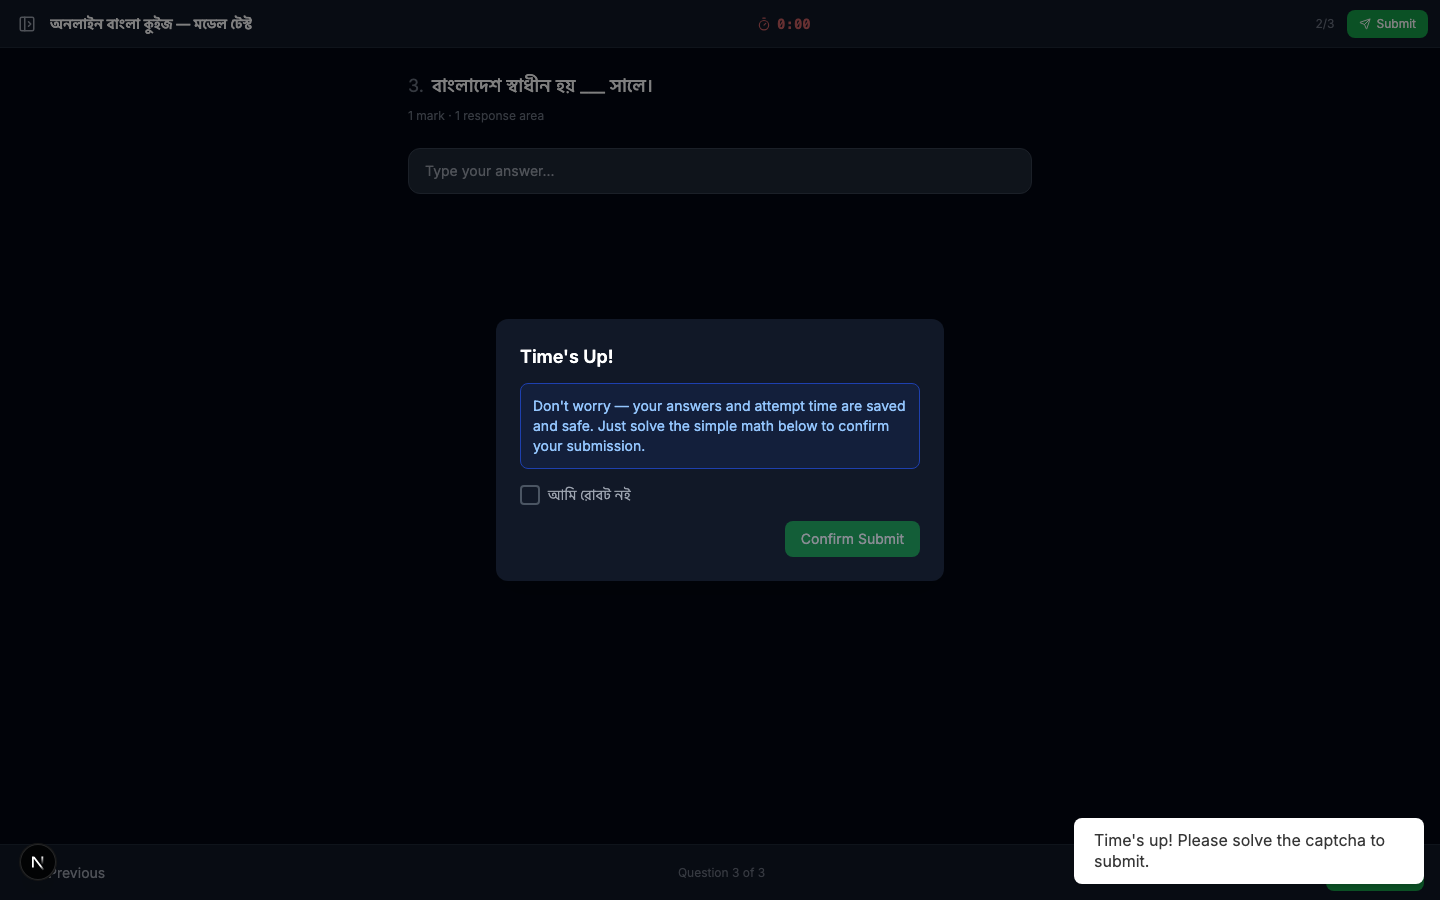
The system auto-opens a Time's Up! modal. The student can still confirm submission — they just can't change their answer for the expired question.

A per-question timer prevents students from camping on hard questions forever. It also makes cheating harder — even if a student looks up an answer, the time pressure limits how many they can look up. Pair this with option shuffling and negative marking for a robust anti-cheat setup.
Submit
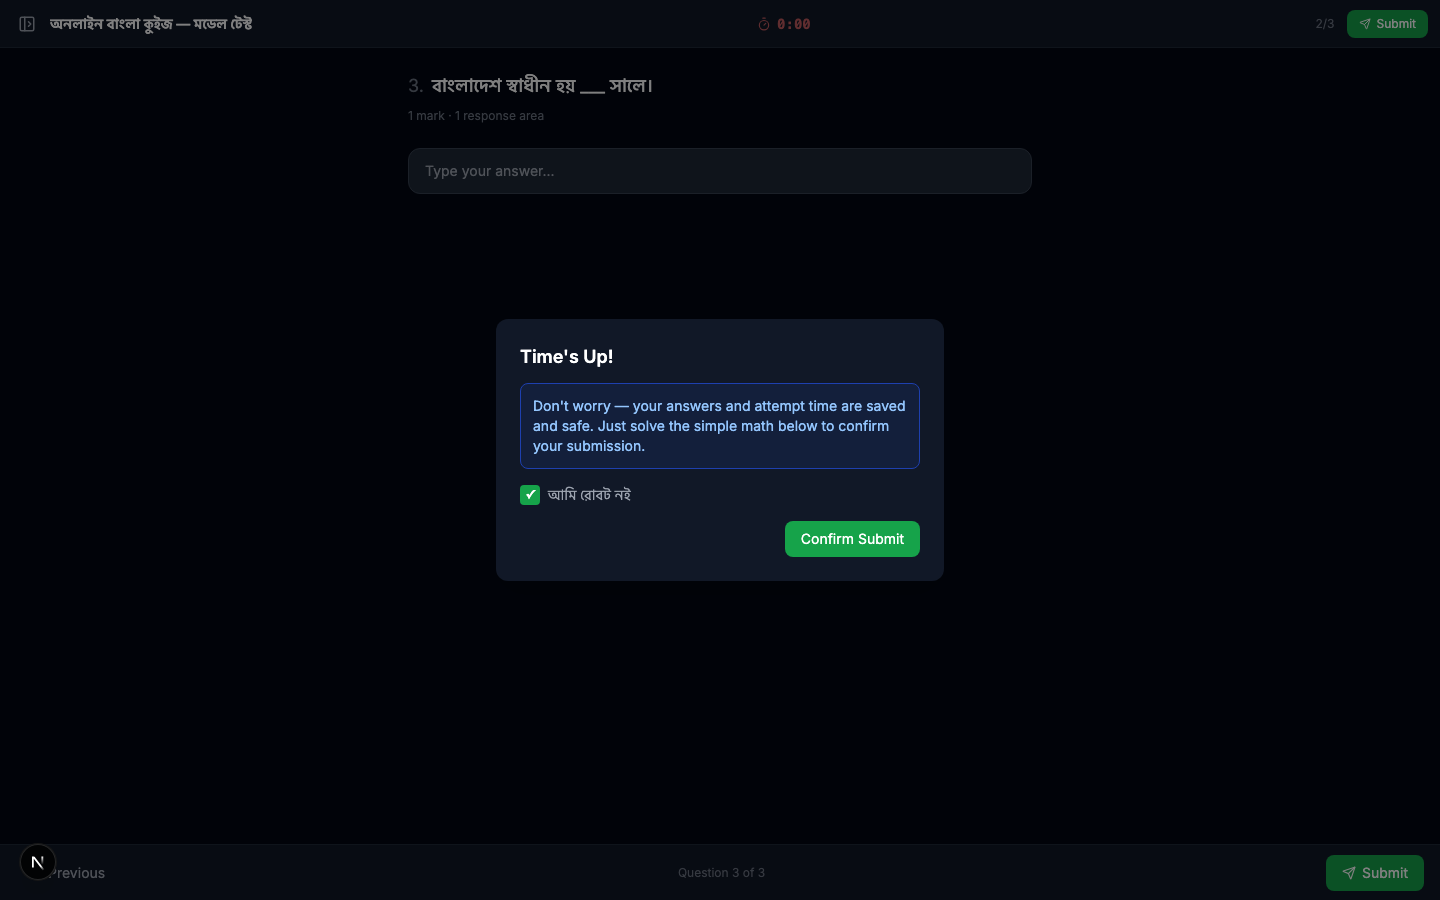
Tick the "I am not a robot" captcha and click Confirm Submit.
Part 6 — Instant Auto-Grading & Result
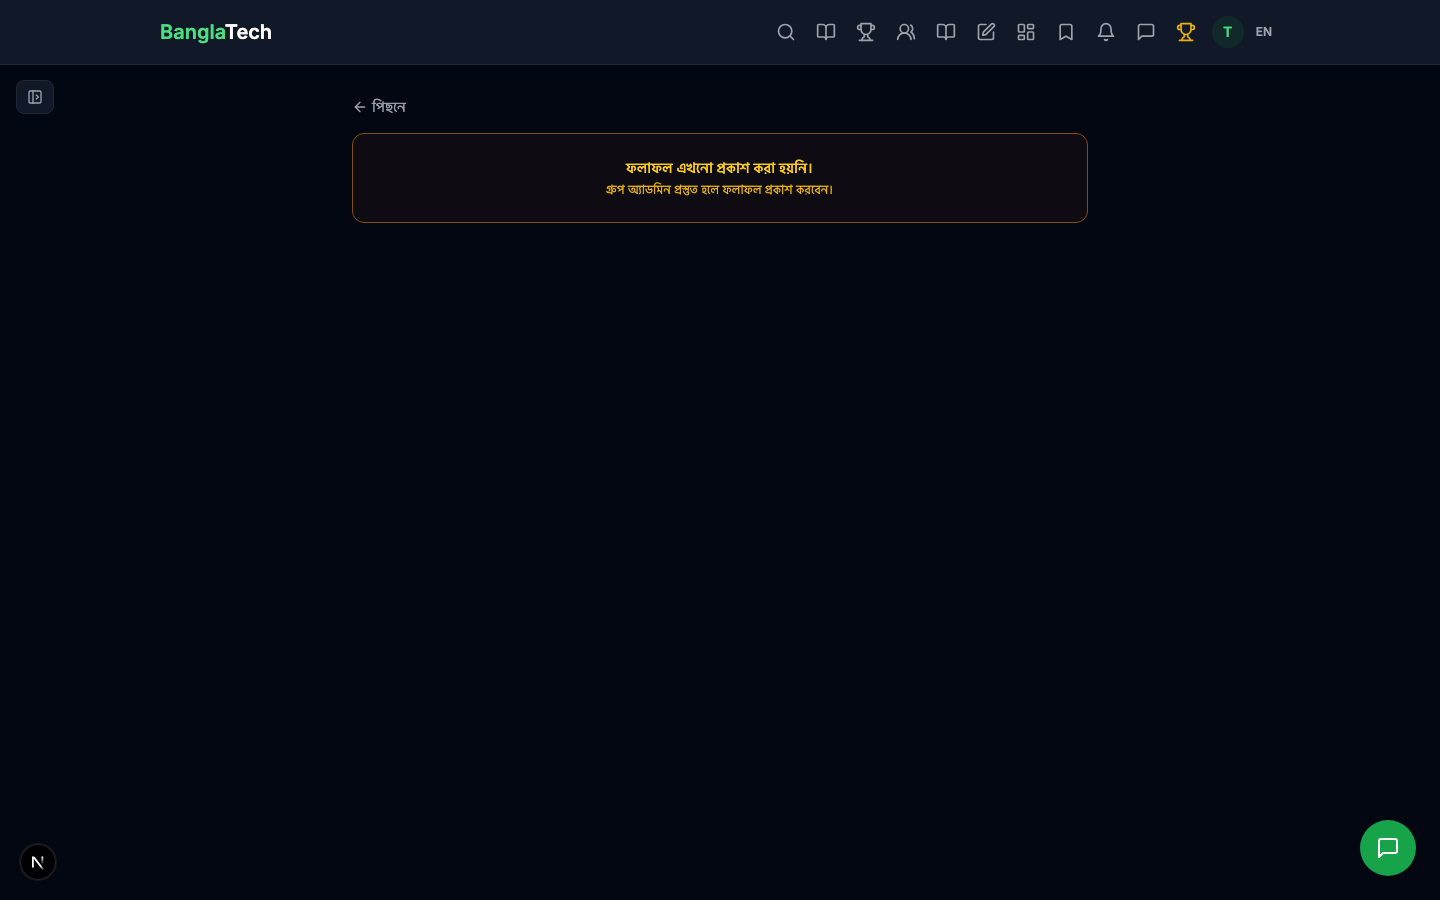
The moment the student submits, the system grades all three questions automatically and publishes the result (because we turned on Result Published in settings). The student sees their score immediately.

Scrolling down shows the detailed breakdown per question — correct answers in green, wrong answers in red, and the unattempted Q3 counted as wrong.
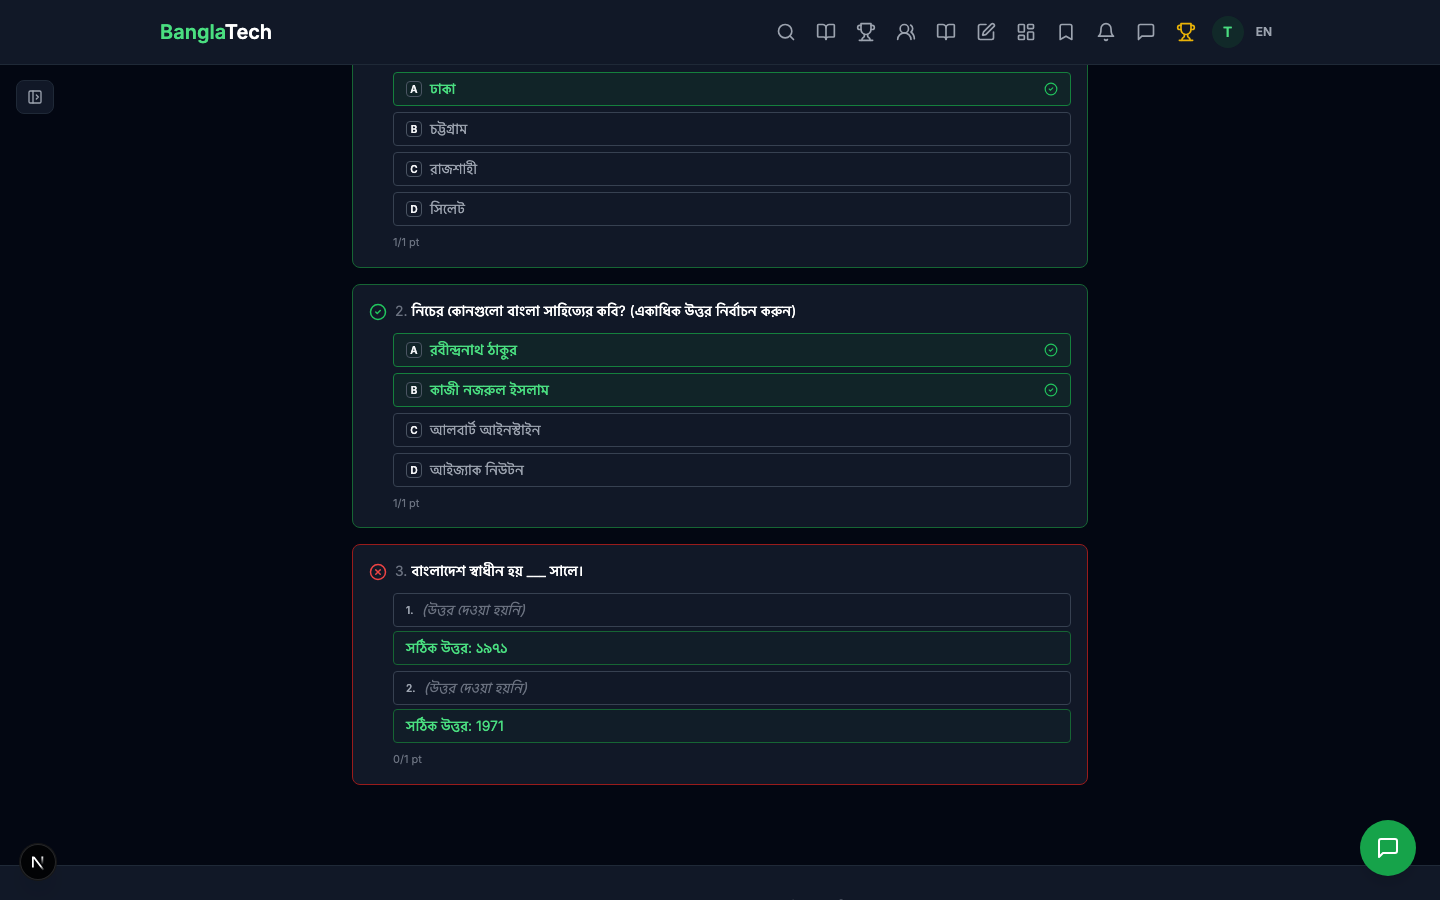
Scoring breakdown for this attempt:
- Q1 (MCQ single): correct → +1
- Q2 (MCQ multi): correct → +1
- Q3 (fill-blank): timer expired, no answer → 0 (no penalty for blank)
- Total: 2/3 = 67%
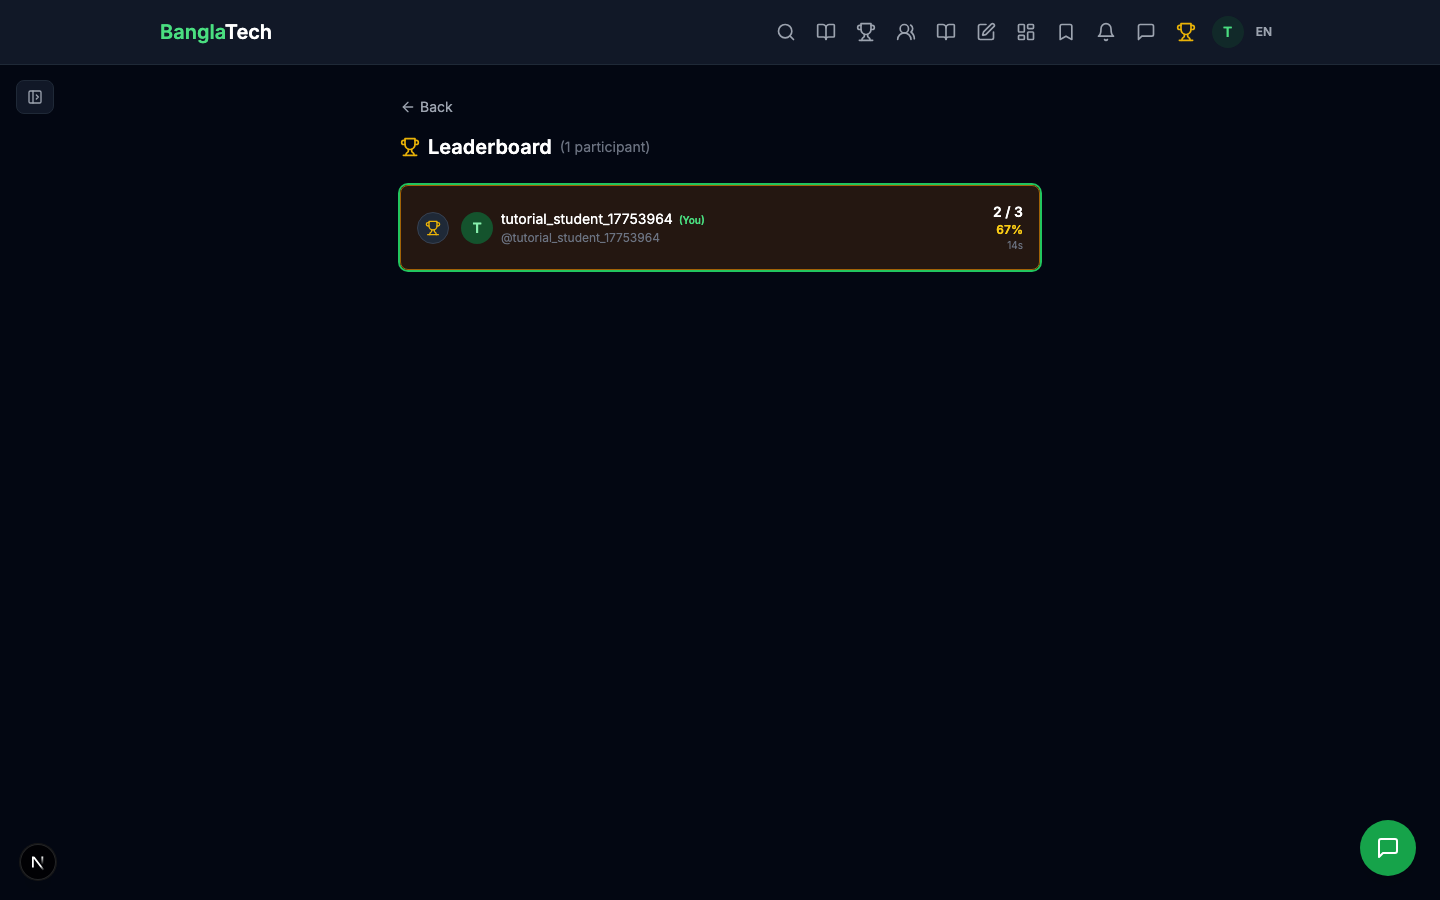
Part 7 — Leaderboard
From the quiz page, students can view the leaderboard showing everyone's scores, ranked by percentage and time taken.
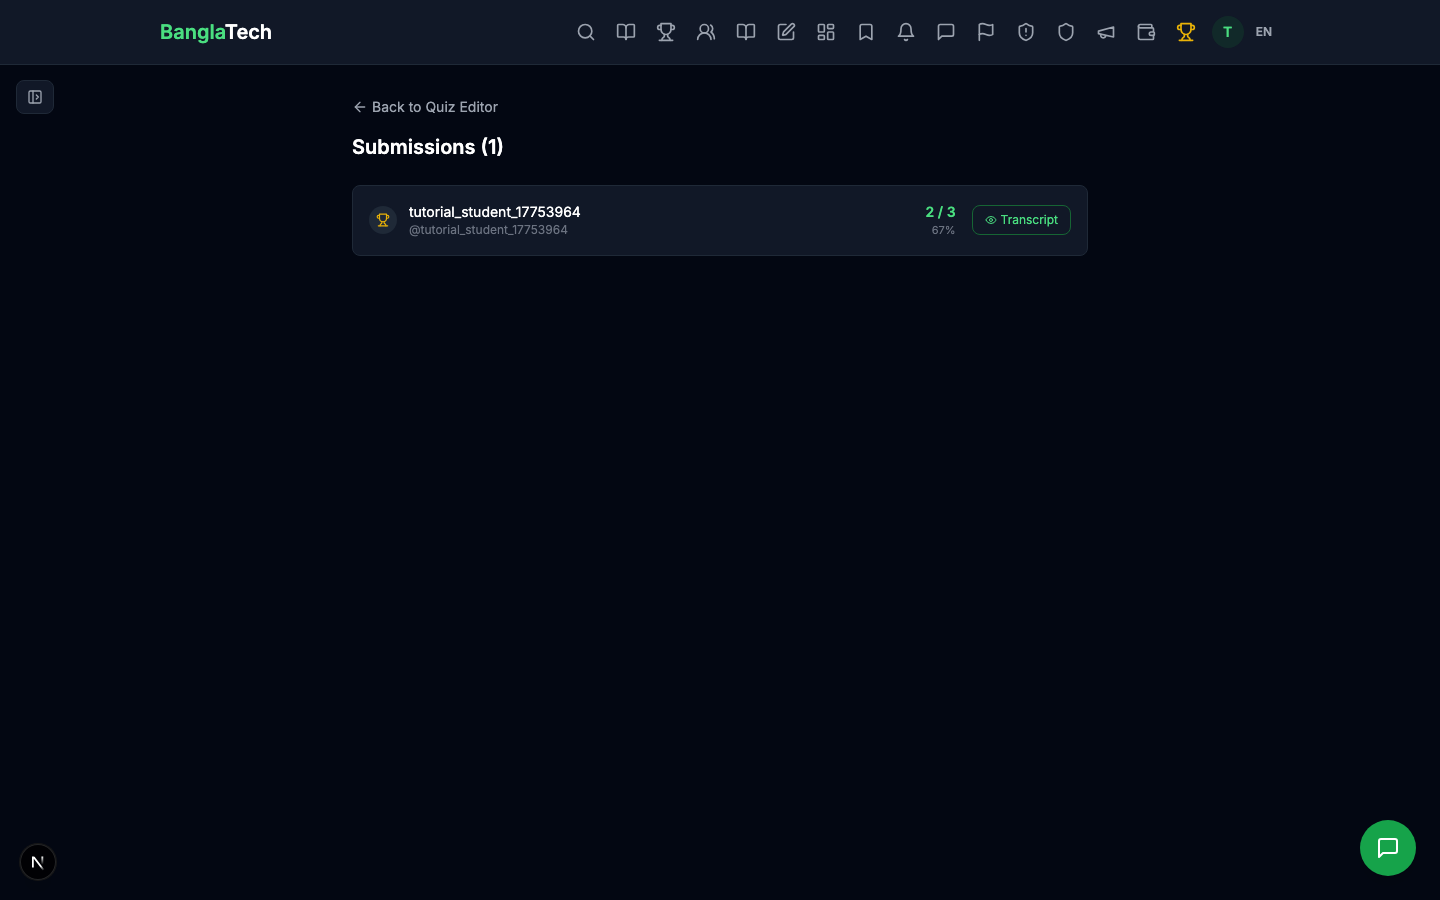
Part 8 — Admin: View All Submissions
As the admin, you can see every student's submission with their score and time, and drill into individual answers.
Summary
You've now built a fully auto-graded online quiz with:
- ✅ Three question types (MCQ single, MCQ multi, fill-in-the-blank)
- ✅ Per-question time limits
- ✅ Option shuffling for anti-cheat
- ✅ Negative marking
- ✅ Instant auto-grading with no teacher effort
- ✅ Detailed result page with per-question breakdown
- ✅ Live leaderboard ranking
This workflow scales to hundreds of questions and hundreds of students. For a more advanced pattern where each student sees a different random set of questions, see the Random Quiz & Tag Allocation tutorial.